
24/08/2024
Gradle
Spring
Table of Contents
Clever Cloud
Clever cloud is a platform designed by developers for developers.
You Write Code.They Run It.
When you write code, you push sources on Github. Clever Cloud is able to install your app from your Github repository.
Account creation
Sign in on https://github.com/ with your account. If you haven’t an account you have to create one
When you are connected, you can create a new account on https://www.clever-cloud.com/en/
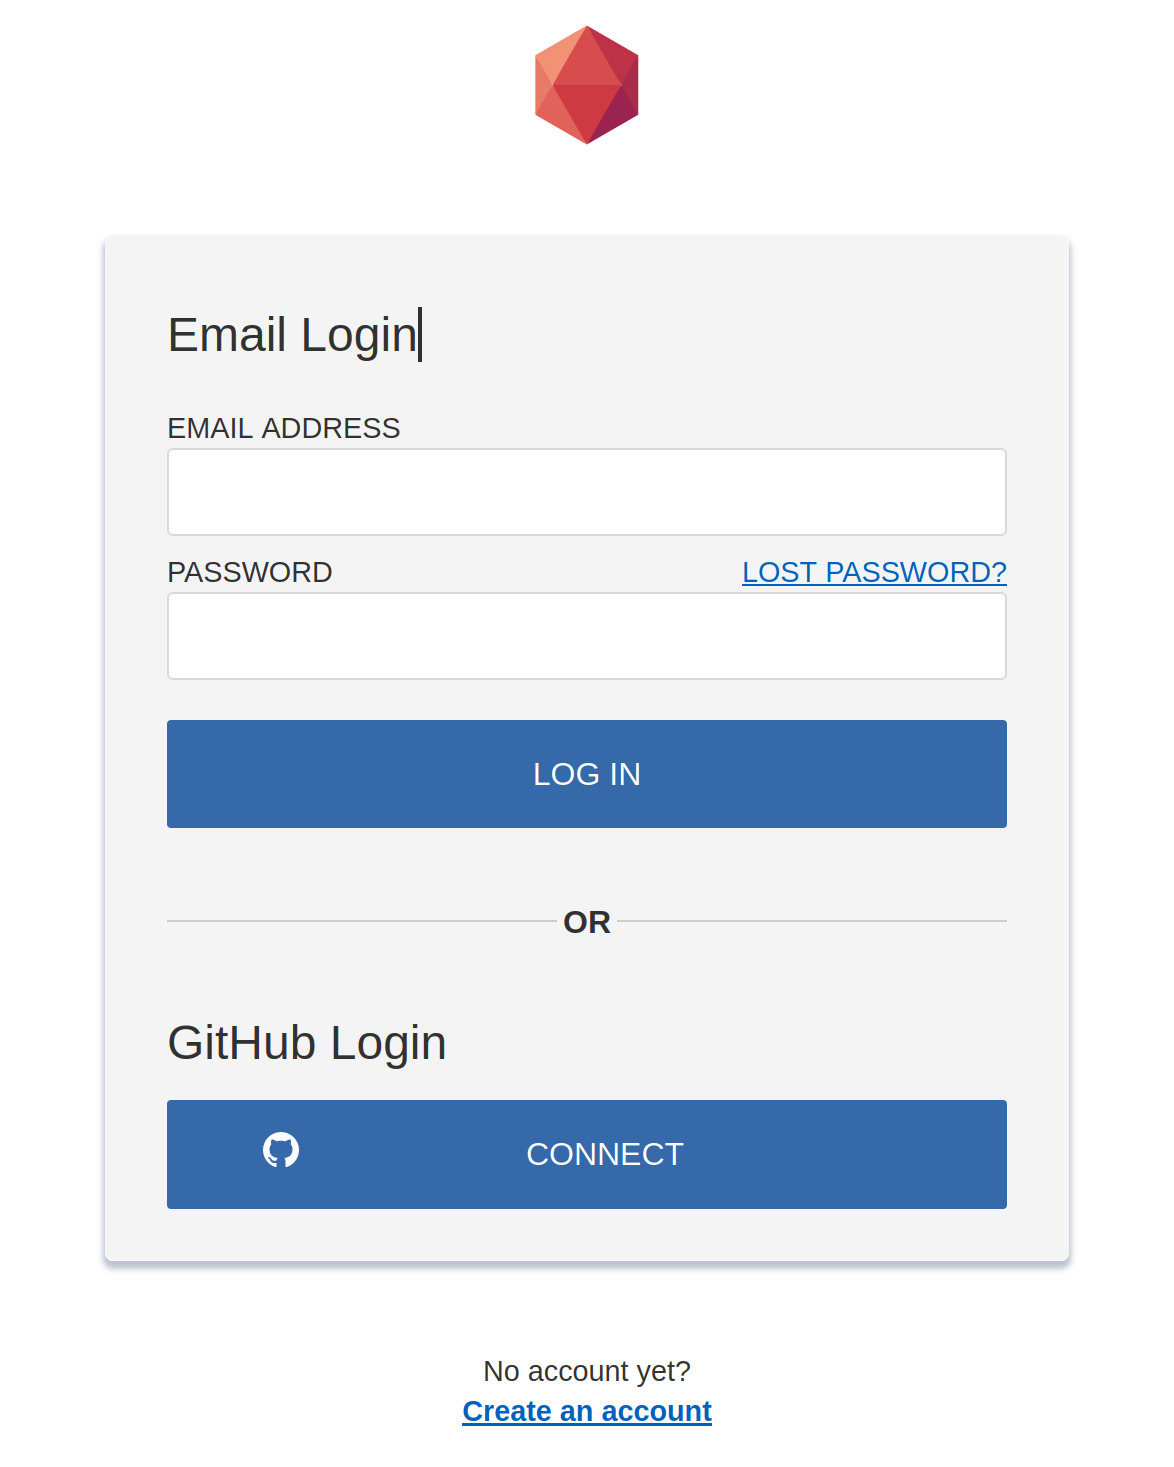
Click on Login button
Click on the connect button with Github.
It’s important to create your account from your Github account. When you account is created send me your email and I will add you on the common repository. When you will receive a confirmation email, click on "Join CoursEmse2023" Button
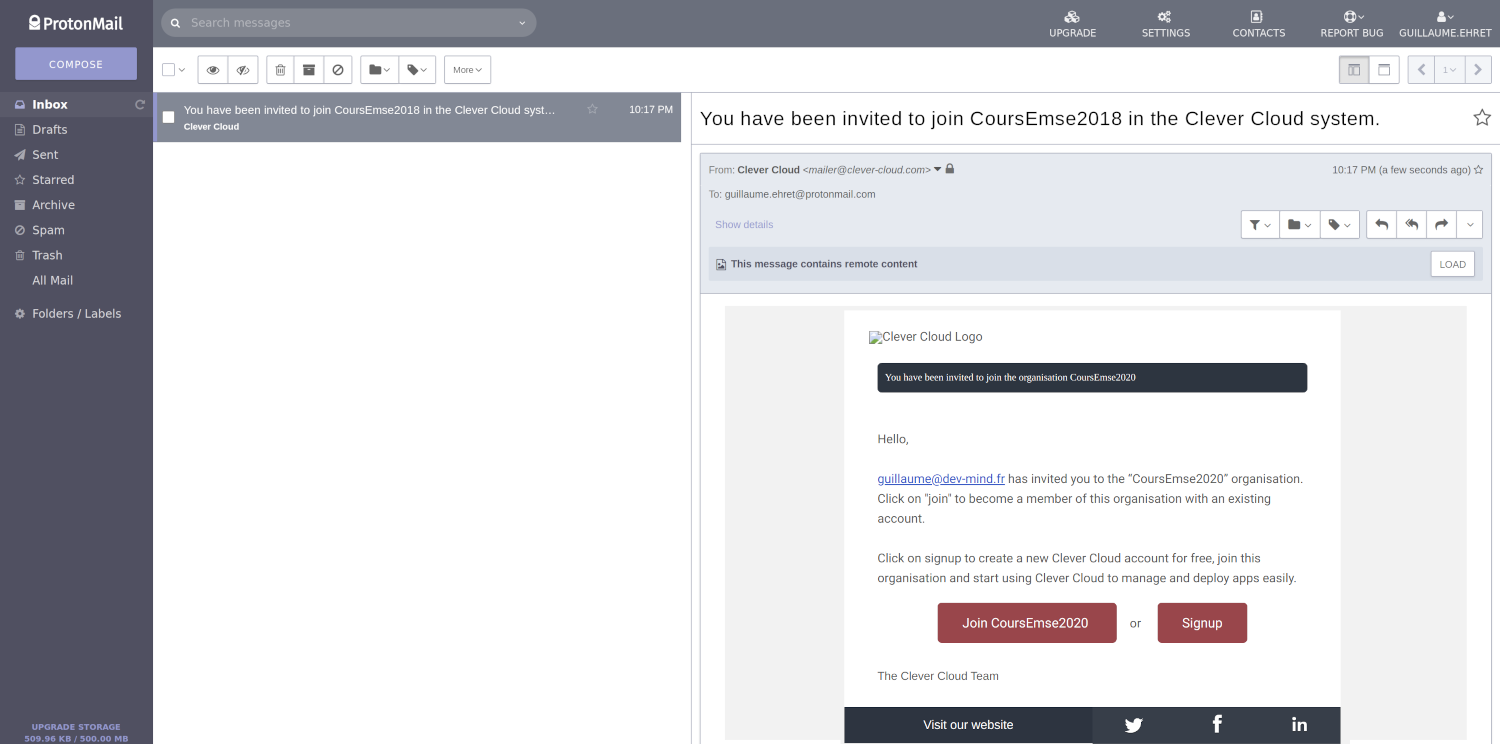
EMSE space will be added on your clever cloud environment
Configure your project
Before this deployment you have to create a folder called "clevercloud" in your Spring Boot project
Inside, add a file gradle.json.This file will contain
{
"build": {
"type": "gradle",
"goal": "assemble"
},
"deploy": {
"jarName": "./build/libs/automacorp-0.0.1-SNAPSHOT.jar"
}
}To know the name of your jar go on folder ./build/libs/. Push your last changes on your Github repository. For the moment, CleverCloud used only Github
Deploy on Clevercloud
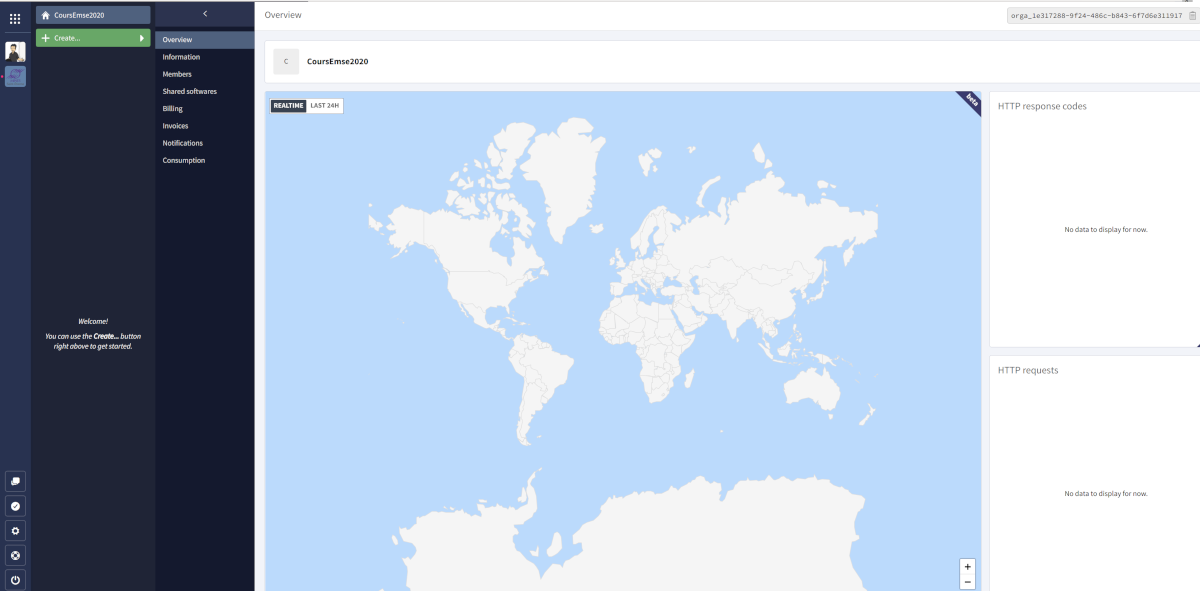
You are ready to deploy your app in Clever Cloud.Open EMSE Clever Cloud space
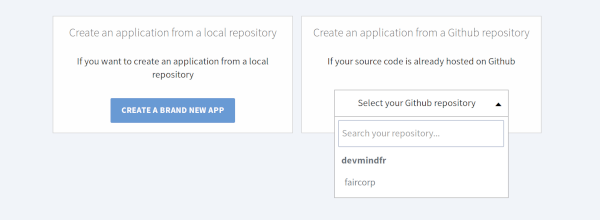
Click on button called "Create…" and select "an application". This application will be generated from your Github repository. Select the project to deploy
You have to choose the kind of your application. For a Spring Boot application it will be a Java or Groovy + Gradle application

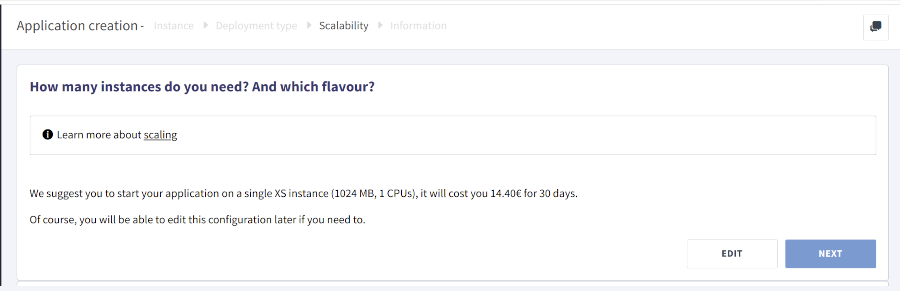
The next step is to choose the type and the number of your server.With our free plan you must keep the default configuration and click on Next button. But in real life you can choose the power and the number of servers.More your server will be powerful more the price is expensive
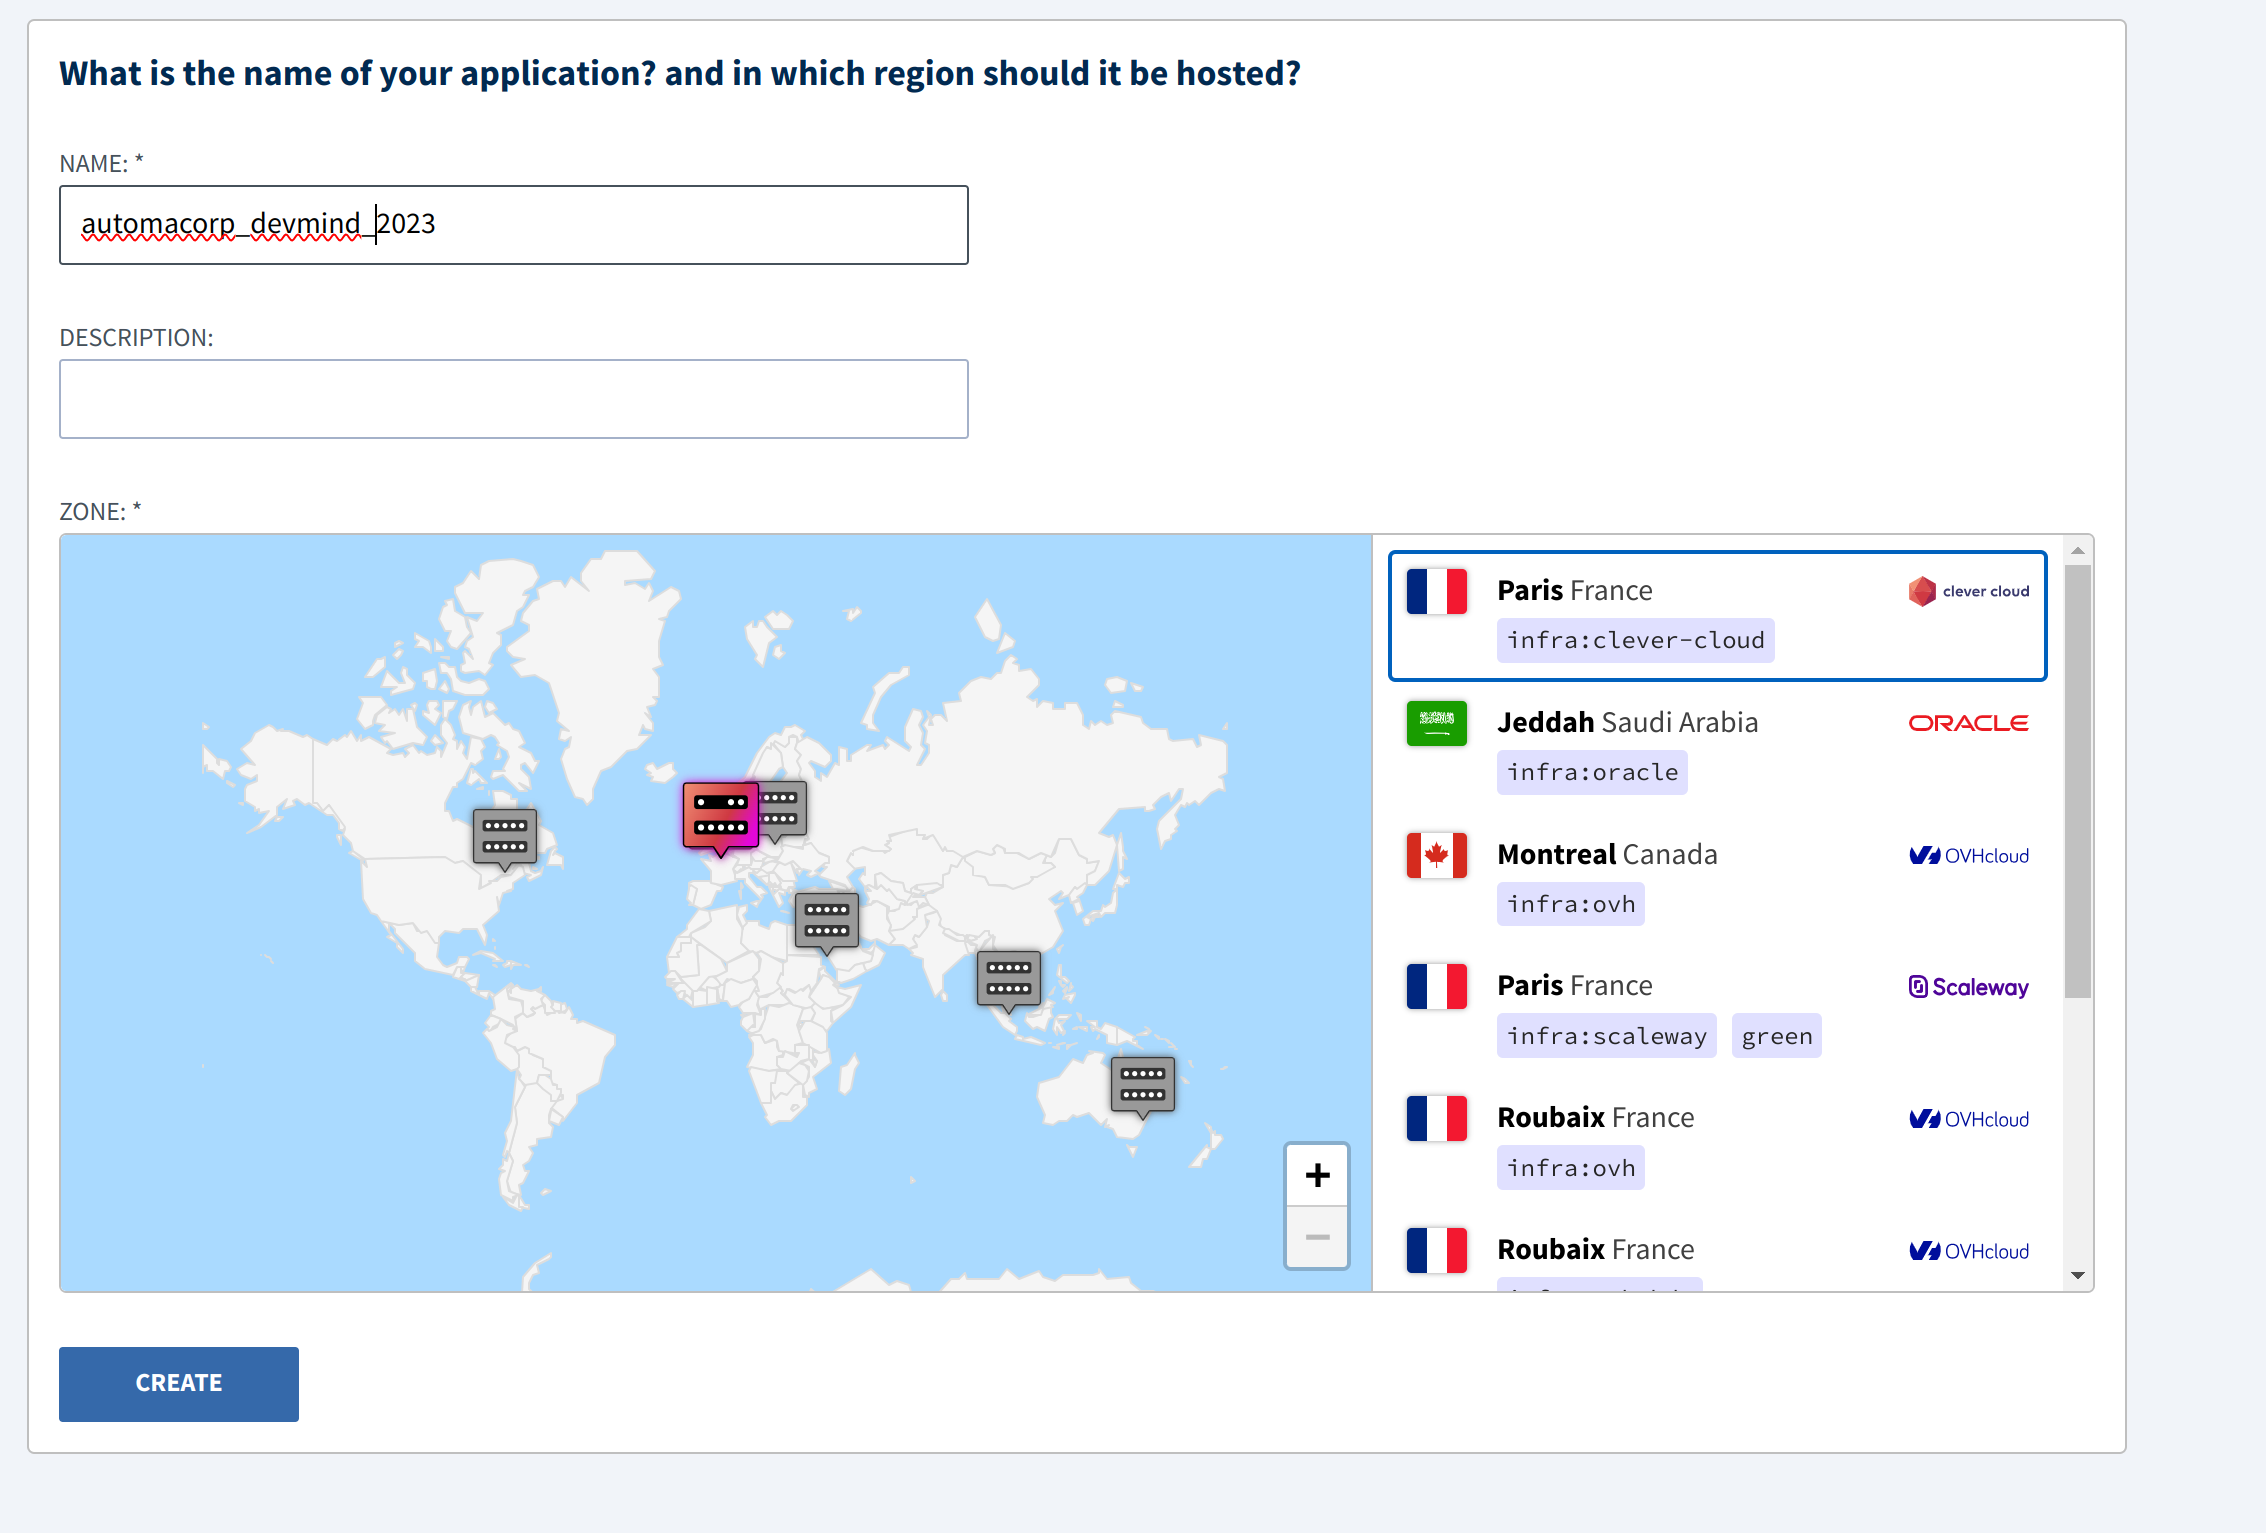
You have to use a specific name. It’s important when you have several apps.In our case you have to use automacorp-firstname-lastname. You must also select in which zone of the world your application will be deployed (you can only select France in this lab).
In the next step you can choose if you need an add-on as a database for example. We don’t need to install a database because your app use an embedded H2 database. Click on I don’t need any add-ons button
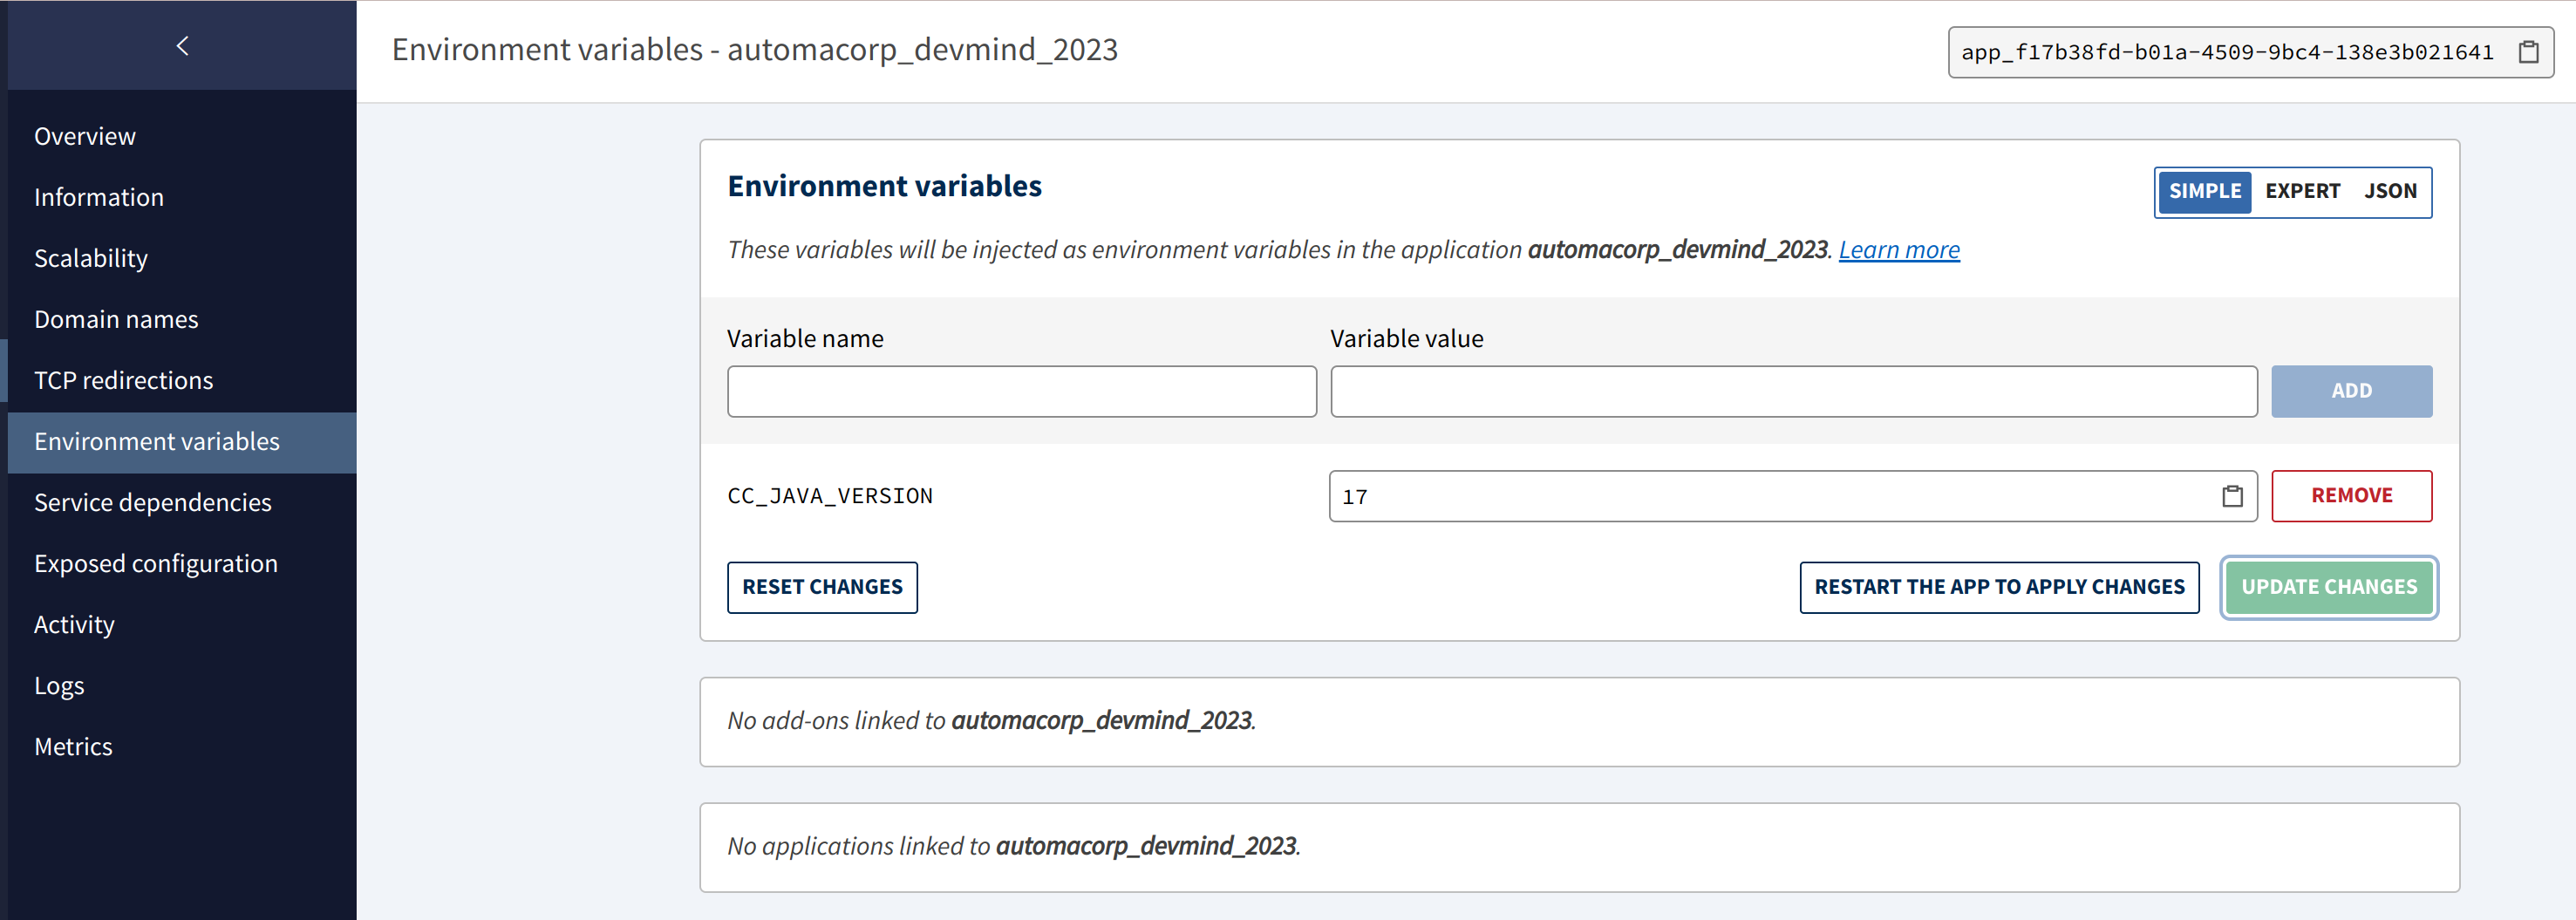
You can define environment variables and it’s important for us. We need to override the default Java Version used by Clever Cloud. For that add a new environment variables called
-
CC_JAVA_VERSIONand with a value equals to 17. -
PORTand with a value equals to 8080.
Installation starts and you have to wait several minutes.

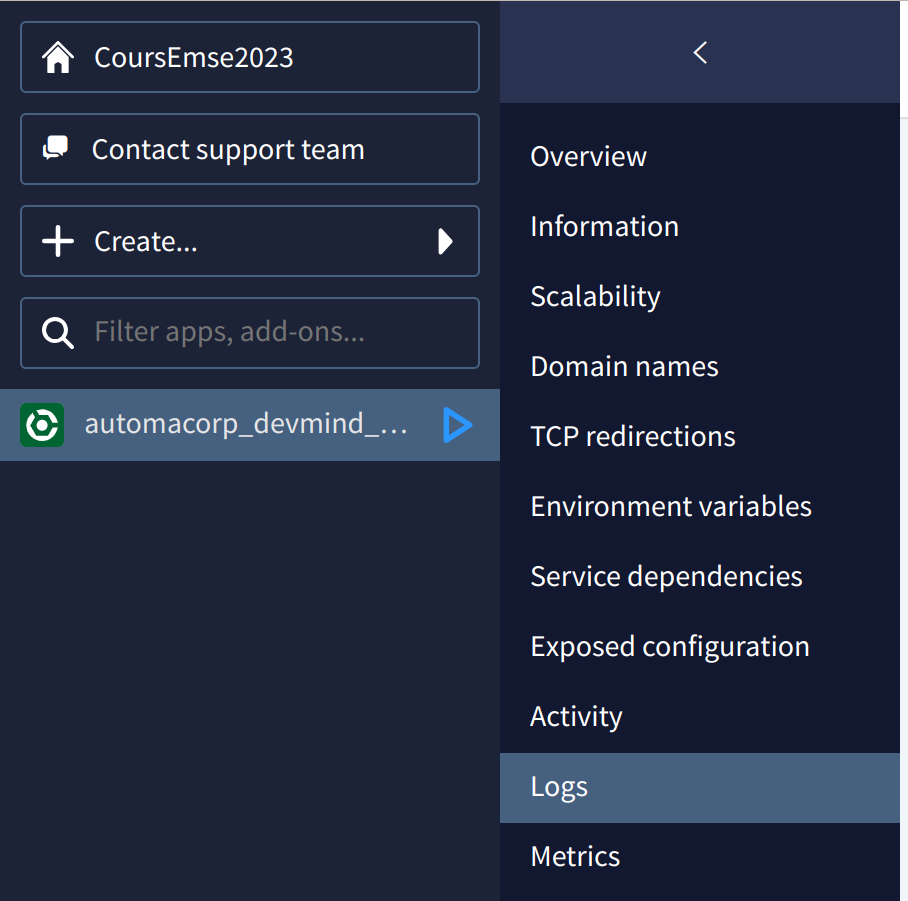
You can explore different section to update the app setup
-
Overview : contains buttons to reinstall your app and the link to access to your app
-
Information
-
Scalability
-
Domain names : helps to personalize the URL of its application or parameter its own domain main
-
Environment variables
-
Service dependencies
-
Exposed configuration
-
Activity
-
Logs if deployment fail you have to go in this section to find the error
-
Metrics
Define a custom URL to access to your application and click on the star to use it by default
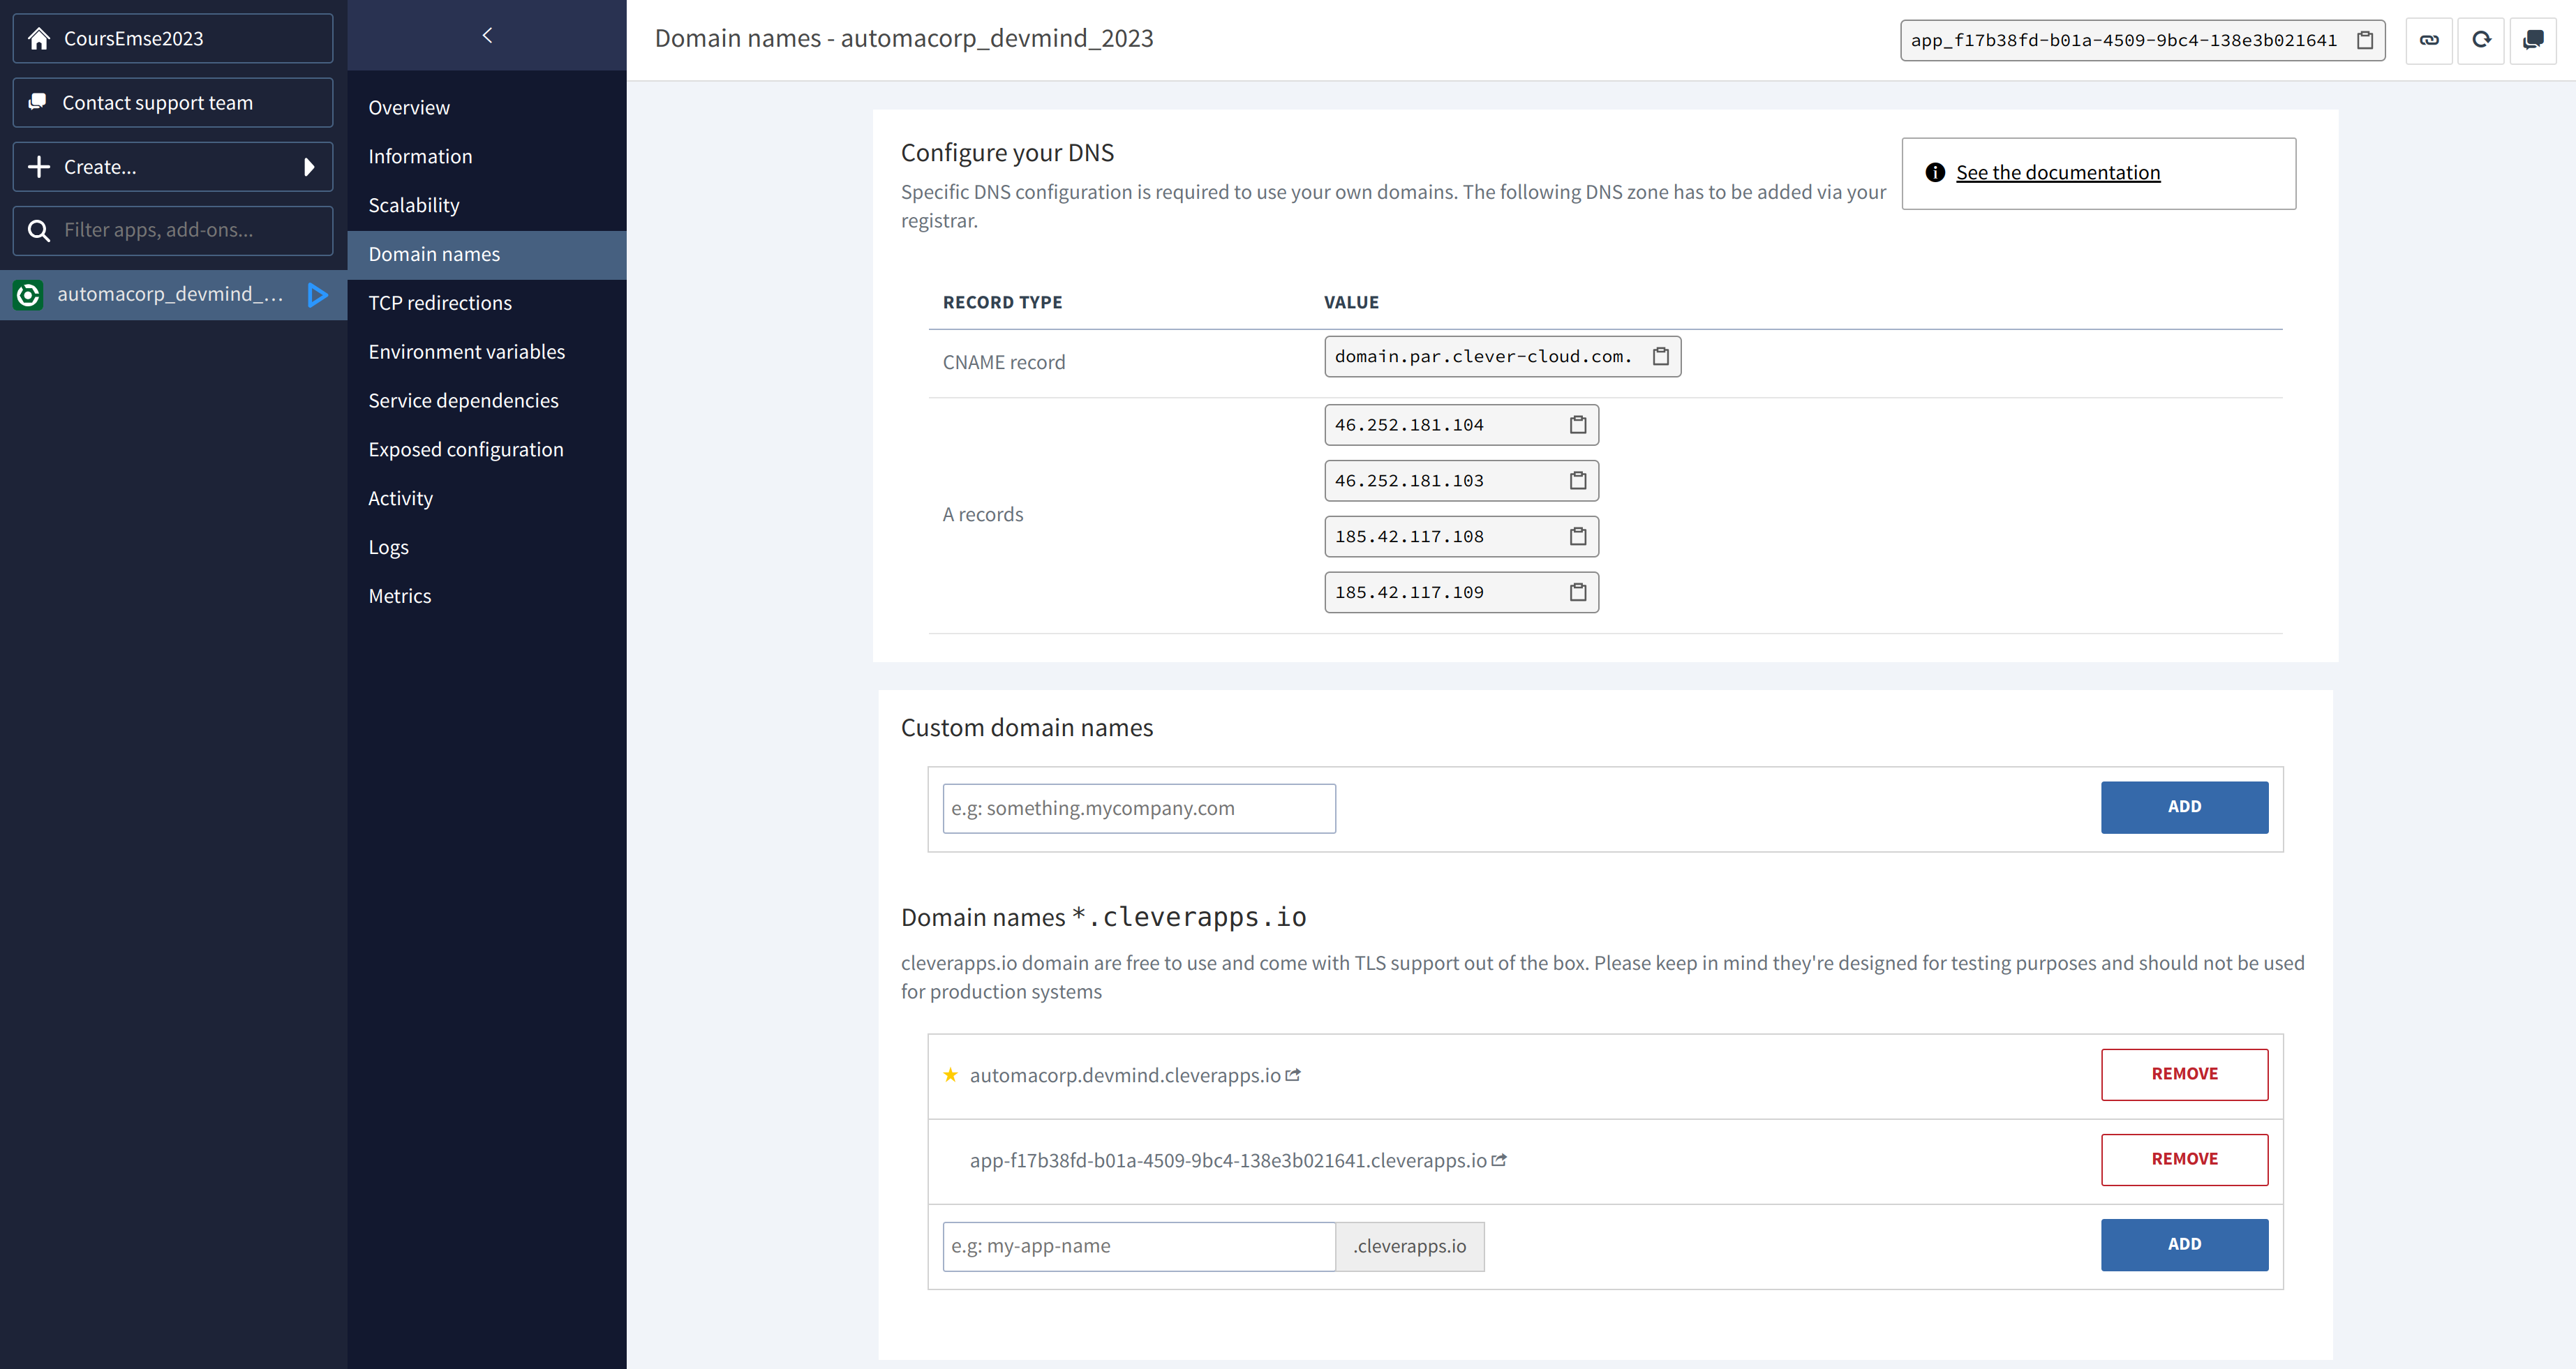
Now you can use your app deployed on the Internet. This app will be automatically redeployed, when you will push a new commit on Github. If you have done previous lessons, you should open http://[yourname].cleverapps.io/swagger-ui/index.html
Common errors
Java version
If you have this error
2023-09-05T21:04:32+02:00 - Incompatible because this component declares a component for use during compile-time, compatible with Java 17 and the consumer needed a component for use during runtime, compatible with Java 11 ---
You forgot to follow the section on environment variables
Windows
If you are on Windows you can have this error
2020-11-23T13:58:00+01:00 A gradlew script has been found. Let's use it.
2020-11-23T13:58:01+01:00 /home/bas/rubydeployer/scripts/build-java.sh: line 9: ./gradlew: Permission denied
2020-11-23T13:58:01+01:00 Build failed
To fix it you can follow this article.Or execute this command
git update-index --chmod=+x gradlew
git push origin main